

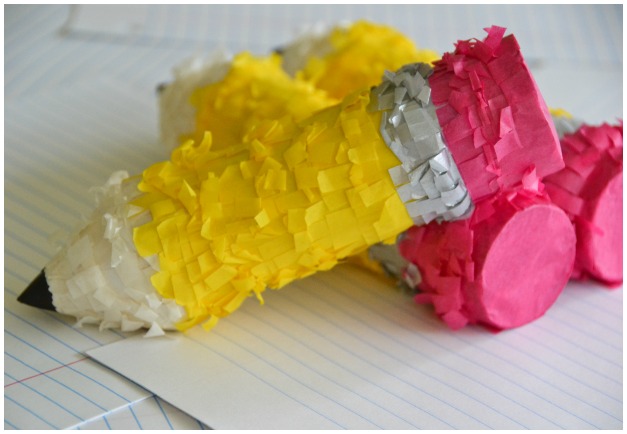
It’s back to school time and you know what that means? Mini pencil piñatas of course! I am just obsessed with piñata making. I especially love making mini piñatas. There is something so fun about giving someone a piñata! Maybe it’s the unexpectedness? Like…Hi!…Oh and here’s a piñata for you! Or the surprise of what’s inside? I don’t know…but you should definitely try it at least once. Now that I feel like I’ve mastered my technique, I have plans for many more! The mini-er the better!
You will need:
- Cardboard tubes (I used paper towel tubes, cut in half)
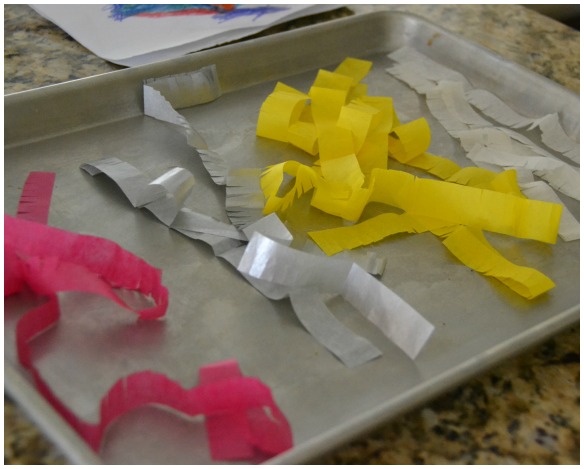
- Tissue or crepe paper in pencil colors
- Glue stick
- Scissors
- Black Sharpie
- White cardstock
- Masking tape
- Treats for stuffing
Instructions:
- Cut tissue paper in strips and make fringe (see here or here for folding and cutting tutorial).
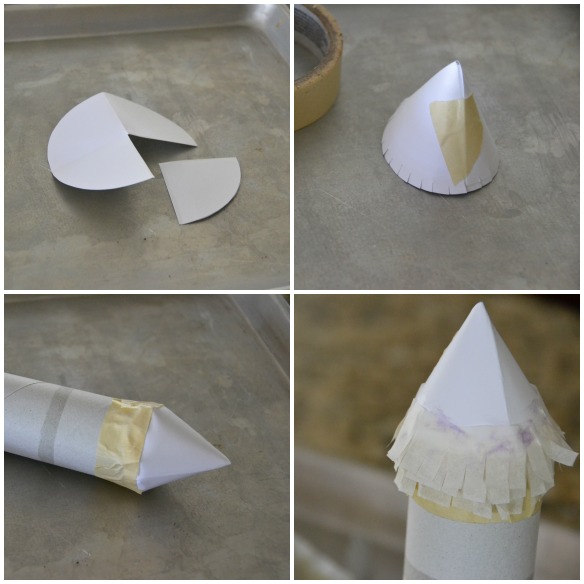
- Draw and cut a circle out larger than the cardboard tube.
- Fold circle in half, then in half again.
- Unfold. Then using fold marks as a guide, cut out 1 piece of the circle.
- Fold into a cone shape and secure with masking tape.
- Cut tabs around the bottom of the cone, about 1/8 in apart (this helps to manipulate the cone to fit on cardboard tube).
- Attach cone to cardboard tube with masking tape.
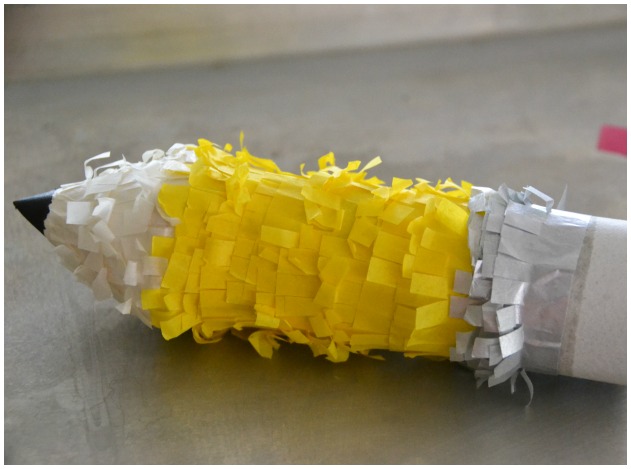
- Add glue to the bottom of the cone and begin wrapping the tissue paper. Make sure the fringe is pointing down.
- Continue adding glue and tissue paper, changing colors when needed until finished.
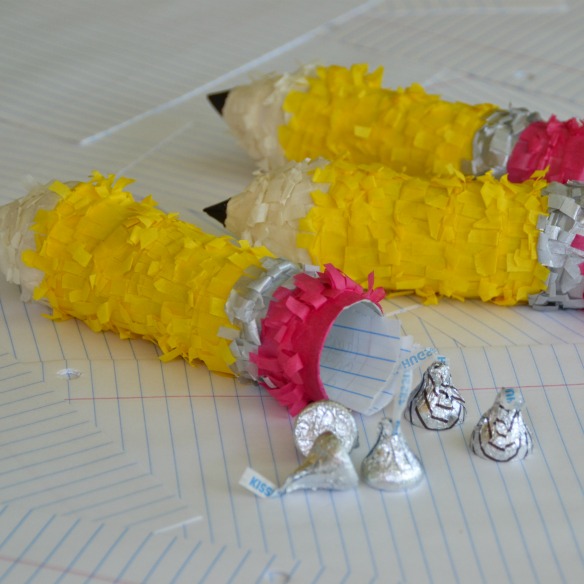
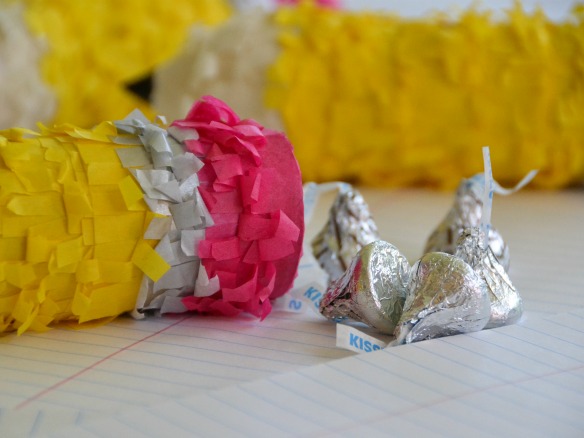
- Stuff with small school supplies or candy. I added Hershey’s Hugs & Kisses with a little note.
- Glue 2 squares of the eraser color tissue paper on the end to seal the piñata.
- Trim into a circle, leaving 1/8 inch overlap.
- Glue and fold down overlap.
- Add a final piece of eraser color fringe to cover the overlap.
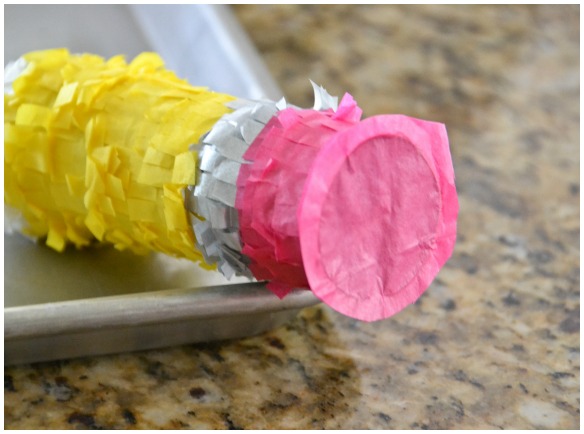
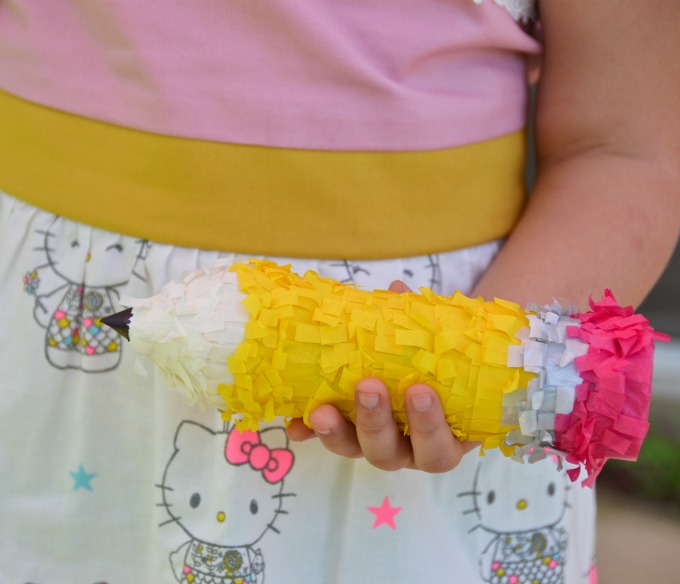
To “bust” the piñata, just punch through the top of the eraser with your finger!
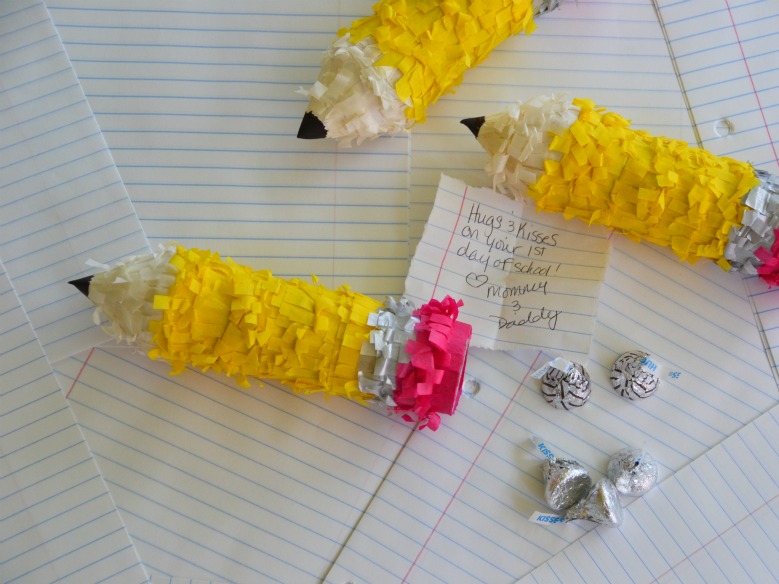
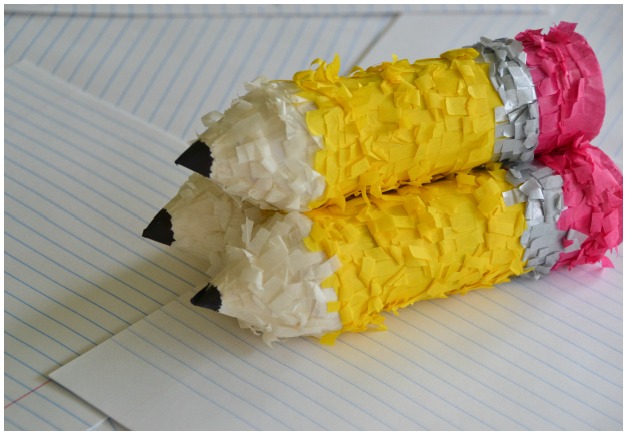
These are going to make sweet, little back to school treats!
Pingback: 35 Piñata Tutorials | Style My Party