 I will find any excuse to make use of my yarn obsession. I can’t even knit or crochet (yet), and I have bundles of this stuff just waiting for the right project. I would love to take credit for this genius, but this was not my idea. I stumbled across a video in a homeschool group I follow, intrigued by the use of yarn, I had to check it out. I adapted it a little, so that it was something my kids could do on their own, with very little help from me. One of the best things I did years ago, was bring all of the craft supplies down to their reach. They have complete access to everything and I find this leads to wonderful art exploration or just doing projects we have done before.
For this project you’ll need:
Yarn in various colors (Black for eyes and orange for beaks)
Scissors
Craft glue
Scrap paper
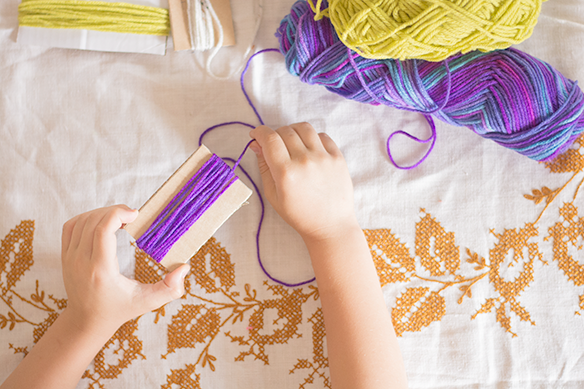
Cardboard template (5 in L x 2 in W)
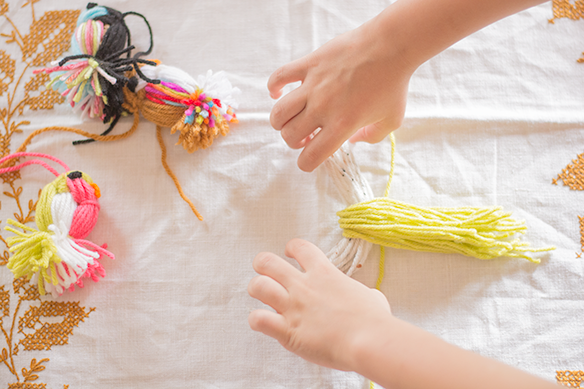
After you have your cardboard template cut out, start by wrapping one of the yarns around lengthwise, until you have reached 1/4 to 1/2 inch thickness. You don’t want it to thick, or it makes it difficult to manipulate into the bird shape. Cut the yarn at one end and set aside. Repeat this 2 more times with different color yarns.
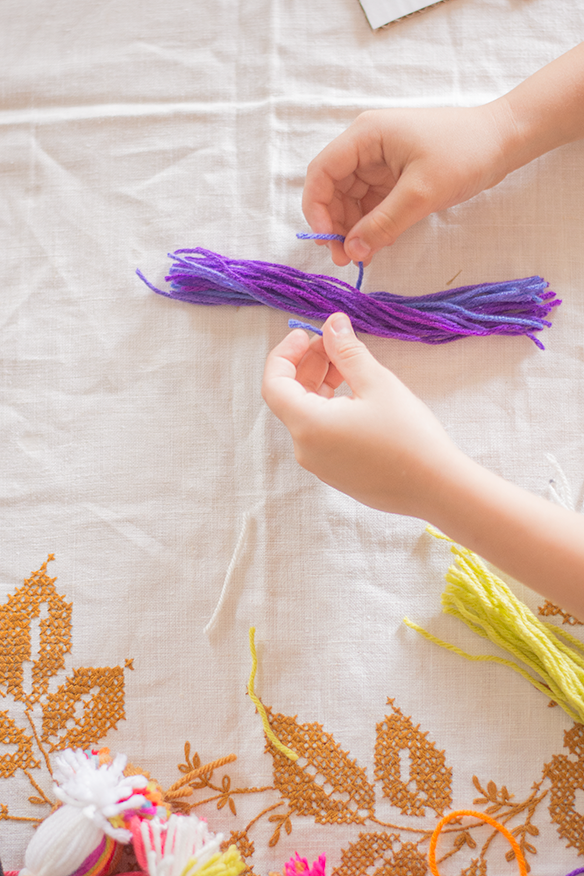
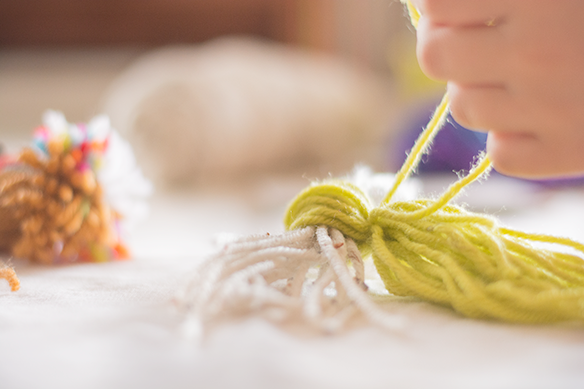
Next, make sure the individual strands within each yarn grouping are lined up, so that they are even on the ends. Choose the color you want for the wings or side part of the bird, and tie a string that is equal or greater in length than the other strings, around the middle. Set that aside and grab your two remaining colors. Lay those, one on top of each other, so that they form a cross. Fold the yarn on bottom, over the yarn on top and tie of with a string. Once again, the string you use will need to be the same length or bigger than the other strings. If not, then when it’s time to form the bird, these strings will be exposed, instead of being tucked in with the others. Now, take the remaining yarn, fold it around, and tie off.
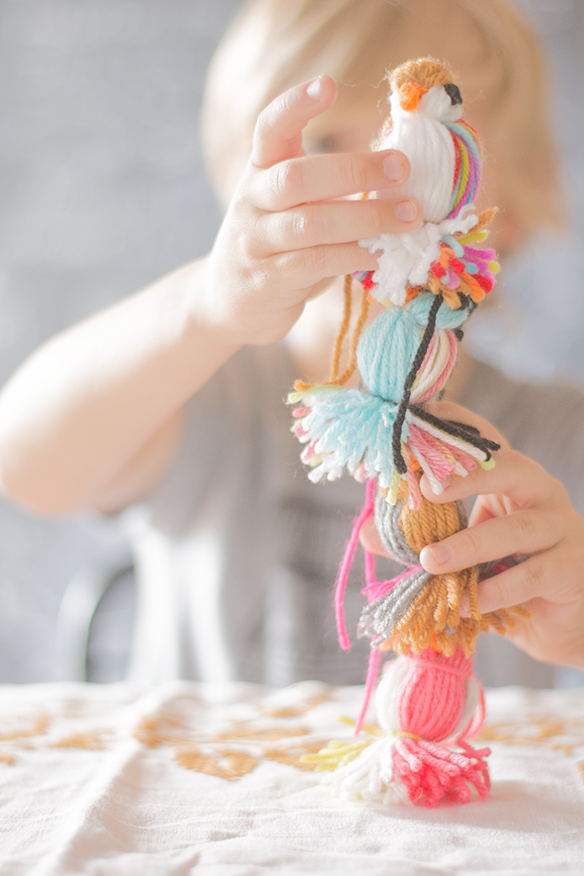
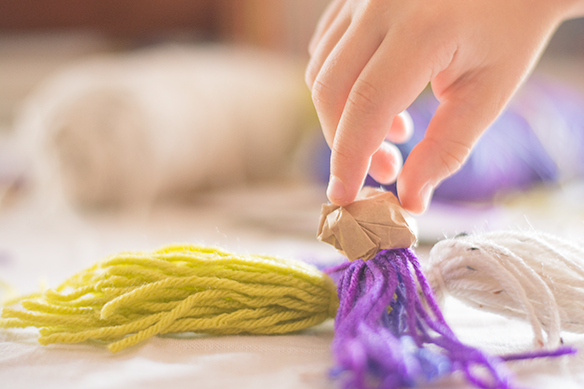
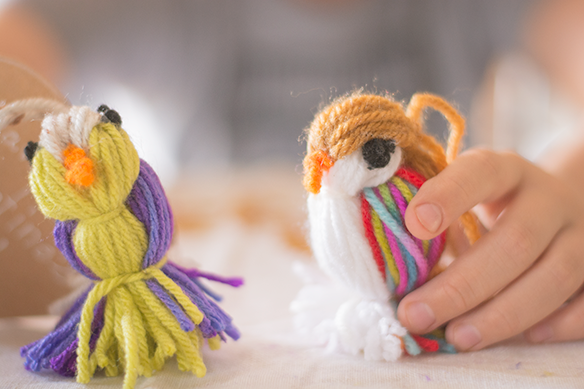
Then, take the two yarn sections that are connected, and lay them horizontal. Place your other yarn section on top vertically, forming a cross. Next, crumple up a small piece of scrap paper and place in the center. This will give the body more form. Finally, gather all of the yarn sections and form a bird shape. Tie off the tail with a another piece of yarn. Trim tail to your liking.
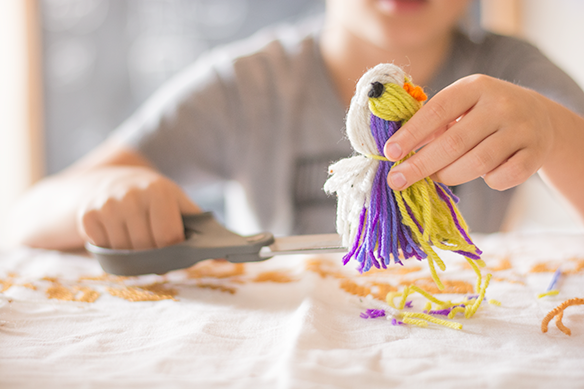
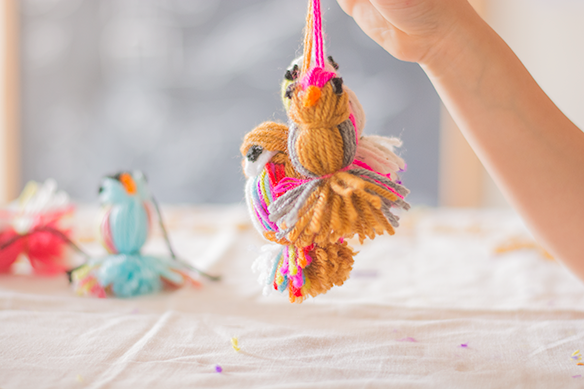
Now, form your eyes and beak. We did this by taking black yarn for the eyes and tying a single knot, then another right on top of that knot. Trim the ends and attach with glue to the bird. Do the same thing for the beak, except use orange yarn and tie 3 or 4 knots, forming a chain of sorts. Trim the ends and attach with glue. There is a little hole where the beak is attached, so we actually added glue in the hole and slightly tucked the beak in there. The last thing to do, is thread a piece of yarn through the top of the head and tie off. It’s optional, but I wanted to do this so we could attach them to gifts, cards, or hang them from whatever.
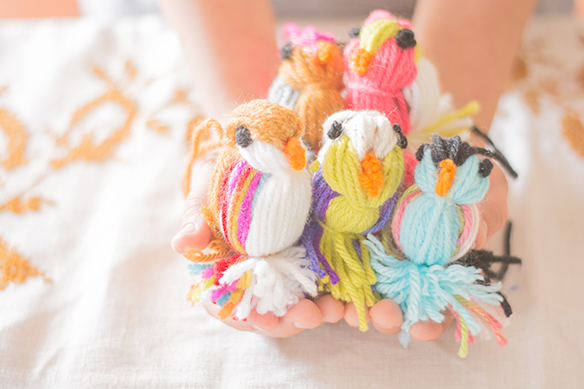
After I worked through a few of these with my kids, they ran with it. We have a bunch of these little birdies flying around. This is such a simple and fun craft, that can be done over and over again with different results. You can change the colors out, make them smaller or larger. One thing is for sure, they will have making them!